Getting Started
The Beginning
The first decision to be made is Docker or not. Many users have chosen to go the Docker route.
Advantages of Docker
- Easy to configure, as you can rely on pre-existing work.
- Easy to update.
- Reliable and well-supported.
Disadvantages of Docker
- Some performance impact (though not likely to impact UniFi Poller, there is an overhead).
- Relies on a base system for persistence of data.
- May not be implemented on some useful platforms (eg NAS).
In the sections below we will first discuss Docker implementation, and then go on to look at implementing the components directly. In both cases, though, there will be some common configuration steps. The first of these is to set up the controller correctly.
Configuring the controller
The only requirement of the controller is that UniFi Poller can log in to it and extract data. For this purpose go ahead and create a new user now. Make a note of the username and password you have chosen.
If your controller is on a UDM, UXG, or UDM-Pro or UCK running UnifiOS then it is recommended that a Limited Admin user is created with Read-Only rights to the UniFi Network app. Other access levels may not work correctly.
For example,the screenshot below show the username chosen as unifipoller.
This is the default, will be used throughout these docs.
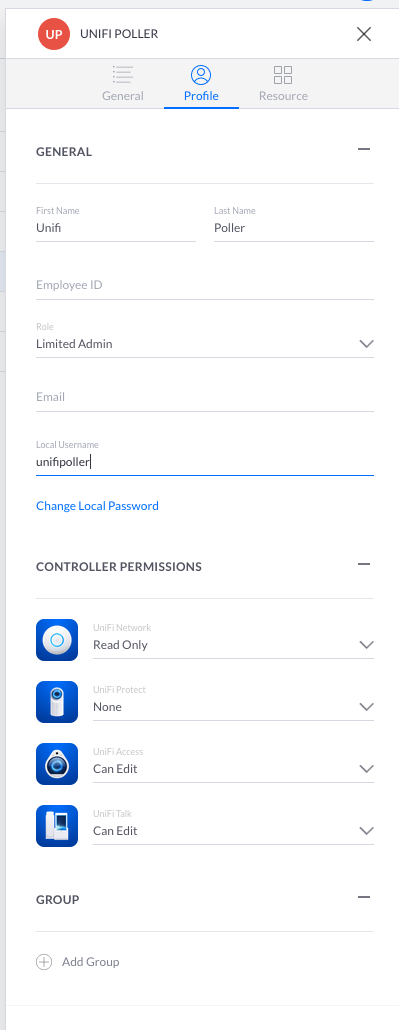
If you are using another controller type (eg. Cloudkey or Virtual) then create a read-only user.
Next Steps
New users may find docker-compose (using InfluxDB) easiest to use.
At this point you need to decide whether to use:
- Docker - using
docker-compose. - Docker - using command line
- This assumes that you have access to Grafana and InfluxDB/Prometheus.
- Bare metal or a NAS:
- An unRAID Template is also available in the Community Applications.
- You may also install this on a CloudKey, but that's an advanced setup and not generally recommended.